
This article relates to Site 2.0
STEP 6: Setting up your image gallery
Before adding a page to your website you will need to set up an image gallery. To do this please follow the steps below:
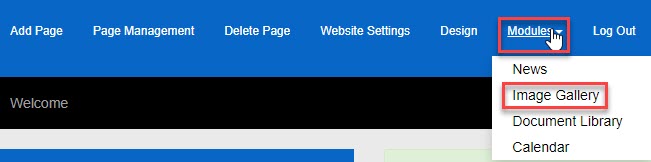
1. MODULES > IMAGE GALLERY > ADD IMAGE GALLERY > Add a Title > Save
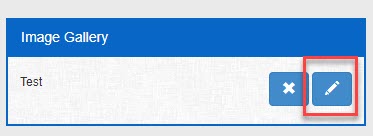
2. Click EDIT next to the Image Gallery you would like to add images to
3. then click BROWSE > Select Image > OPEN
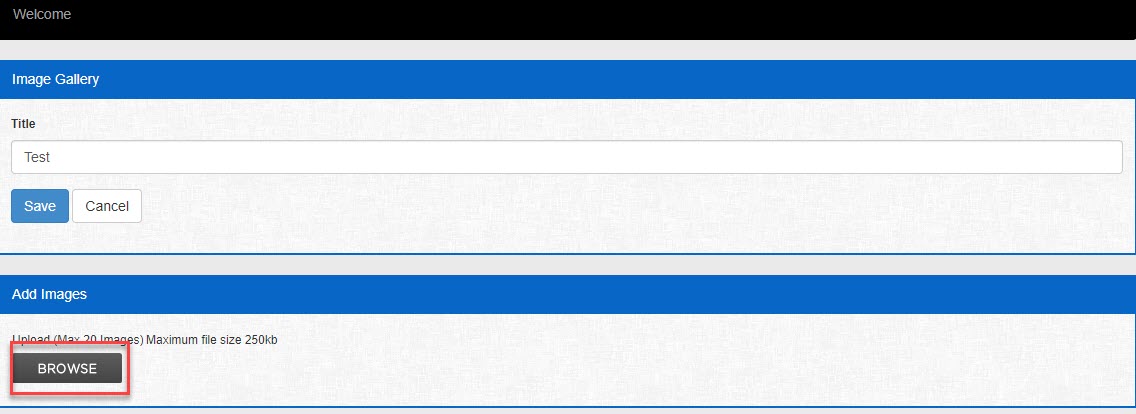
If you are unable to see a ''browse button'' this will mean that your browser has restricted access for you to be able to upload images and files on this website - to update this access please click here.
To load multiple images please hold down Ctrl and select up to 20 images at a time > OPEN.
4. Once happy with the gallery click SAVE.