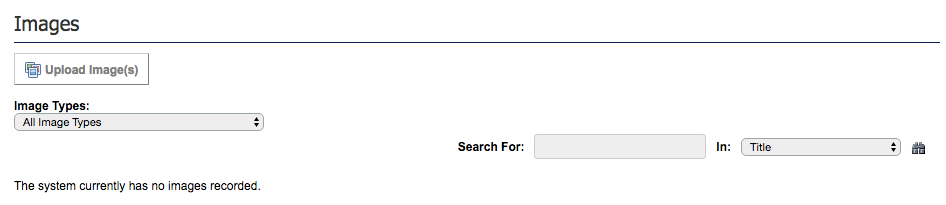
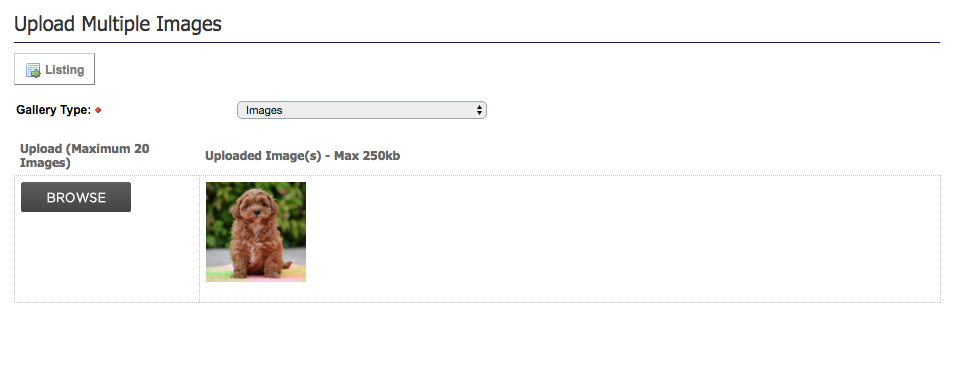
2. Click UPLOAD IMAGE, select the image type you have added as the Gallery type. Click BROWSE to upload the image from your computer.
Note: you will need to create a image type, if one has not been created. To do this visit the Image Type help article.
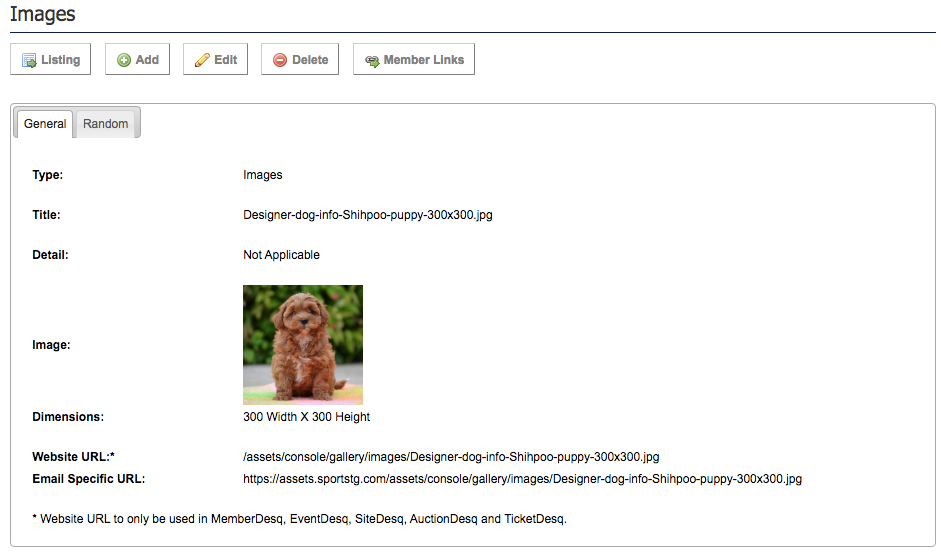
3. Once the image has been uploaded you will be provided with two URL's. VIEW the image in the IMAGES listing to see the URL's. COPY this URL to insert into any text editor in the console.
Website URL: This URL is to be used for any image inserted on to a webpage throughout the STG console.
Email Specific URL: This URL is to be used for any images inserted into any form of email, receipt, invoice.
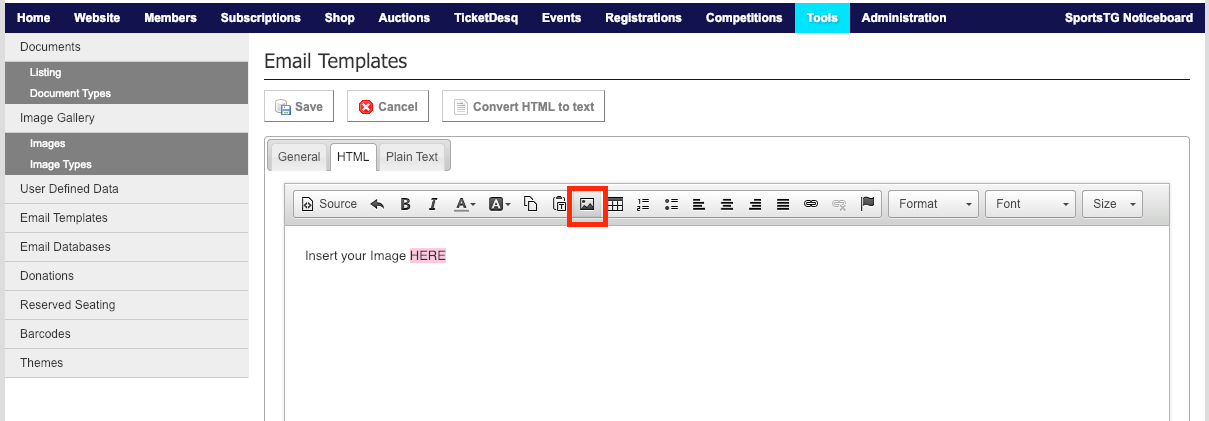
4. Go to the page where you would like to insert the image. This can be any text editor area within the console, eg. in WEBSITE, EVENTS, SHOP etc. For example:
If you are inserting an Image onto a summary page in EVENTS, go to BASIC INFORMATION. If you are inserting an image onto a receipt/invoice, go to the text editor where that receipt/invoice is setup.
5. Click EDIT and place your cursor in the editing box where you would like the image to appear.
6. Click the INSERT IMAGE ICON, paste the image URL in the first field and click INSERT.
Please ensure the image is the correct size prior to uploading it to the console.