
This article relates to Site 1.0
The news feature is used to keep your website visitors up to date with important events and information. News can appear on your homepage and/or on the top menu. You have the option to generate a news item but hold it in embargo until you are happy with it and bring the status online.
Upon selecting news a dropdown will appear underneath with Listings and Options.
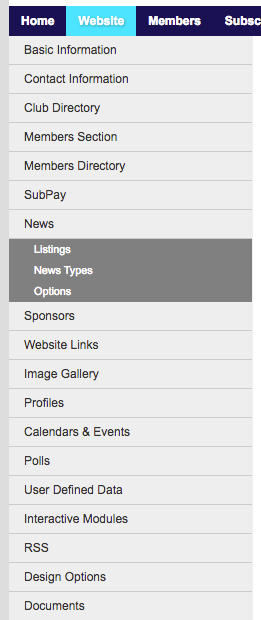
Select options and then click the edit button.
Change display to yes.
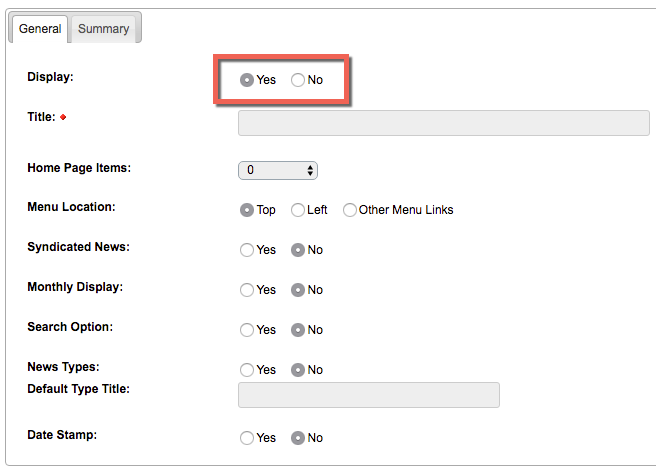
Under title, you can name this section. It could simply be ‘news’ or it could be ‘latest news’ or ‘club news’.
To have news items appear on your homepage, select the amount that you would like to show under home page items. This could be zero if you do not want news on the homepage, or you could, for example, just want the three most recent news articles to display.
You can add text under the summary tab if you would like to say anything under the header before the article list begins, e.g. ‘Here are our clubs latest news listings’.
Next, click LISTINGS in the dropdown under News on left side menu. To add a new story, click the ADD button.

Start with the general tab. Name your news story under title.
Select the publish date (this could be today or you could set it as an alternative date.
In the summary box, you can write a summary of the article that will show. This will allow the reader to find out what the story is about in the listing before they click ‘read more’ to see the whole article.
Under public display select yes. You can archive your items if you would like that function.
Write your main article under the detail tab. Again, this is an easy-to-use Rich Text Editor. You can add pictures to your article by clicking the tree icon and putting in the URL of the image that you’d like to use. You can add links by highlighting text and selecting the chain icon. You can add tables by selecting the form with the pencil on it.

Next, go to the files tab. The first two options allow you to add a main image that will show in the article and a thumbnail image that will show in the listing. Simply click the upload button and upload from an image from your computer.
Some points to note are:
- Make sure that the file does not have any spaces in the file name
- Try to use .jpg files
- The maximum file size for the main image is 250kb and the maximum file size for the thumbnail image is 125kb.
The next file option is slider image. This allows you to add a rotating image for each of the articles that you display on your homepage.
If you would like to include this to your homepage slider, ensure that you select YES under SLIDER IMAGE SHOW and upload an image that is no larger than 125kb. These images will automatically resize.
Lastly, you have the option to add an attachment to the article, such as a PDF document. You only have the capability to add one, however, so if you are adding several documents it may be a better idea to use hyperlinks in the main article body.
Name the article under attachment title and click upload to select it from your computer.

Once you are happy with your changes, you can click save. Your new article is not live at this stage.
To make it available to the public, click on LISTINGS again and you will see it with a red cross under status. Click the cross to change it to a green tick and your article will now be available for the public to see.
Once a news item has been updated, it will appear with any other articles in the news listing.
News items on the website appear by default with the most recent dated appearing first in the list.